In my opinion light painting is one of the most enjoyable forms of photography, it allows to get your creative juices flowing and you can make it as complex or simple as your heart desires. I’ve seen a lot of tutorials on youtube and read a lot about the subject online but sometimes they can make it seem overwhelmingly complicated so I’ve decided to share some of my ideas and what I’ve found works well with you good people.
To get started the only thing you need is a camera that allows you to control the shutter speed, in an ideal world you use a tripod to hold the camera steady. When I first started out I didn’t have one so I would use anything around me to hold the camera steady. I used everything from a stack of books, to my shoes, to a table or anything that would hold the camera steady. Below is an example of the first light painting I ever did, it was done using a table to keep the camera stable and a candle in a jar as it was the only light source I could find.
Ok, so I’ll be the first to admit it’s not the most impressive looking picture compared to what you can find online, but its the first step on a journey that I’m still on. However amateur this picture looks it proves all you need is a camera and some imagination.
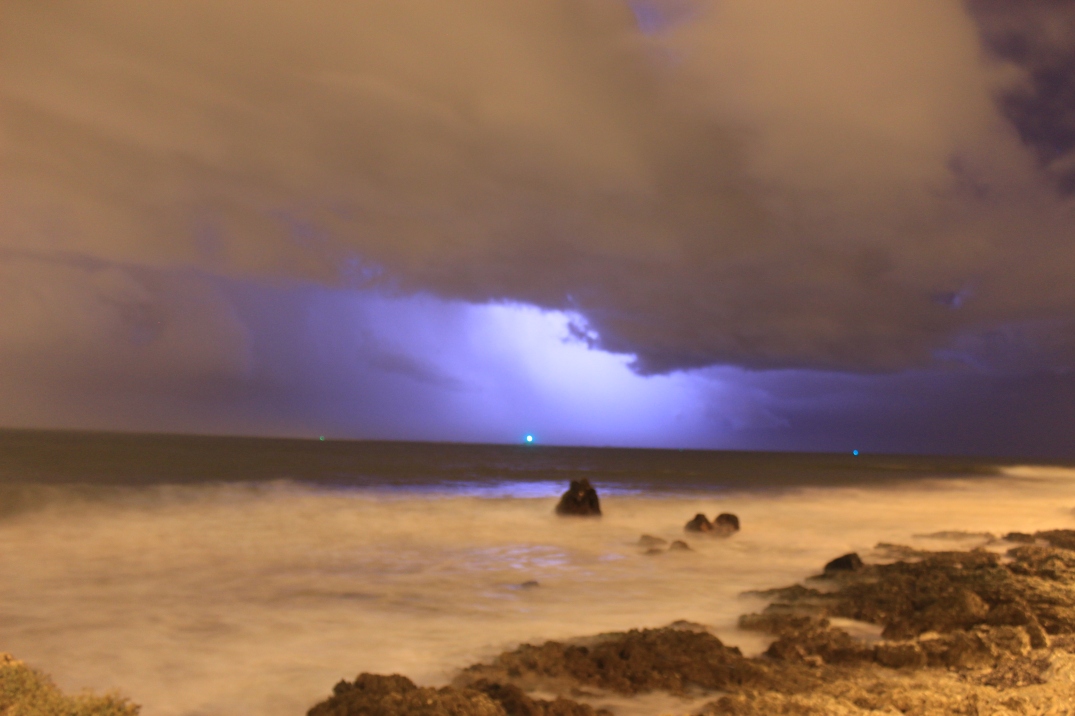
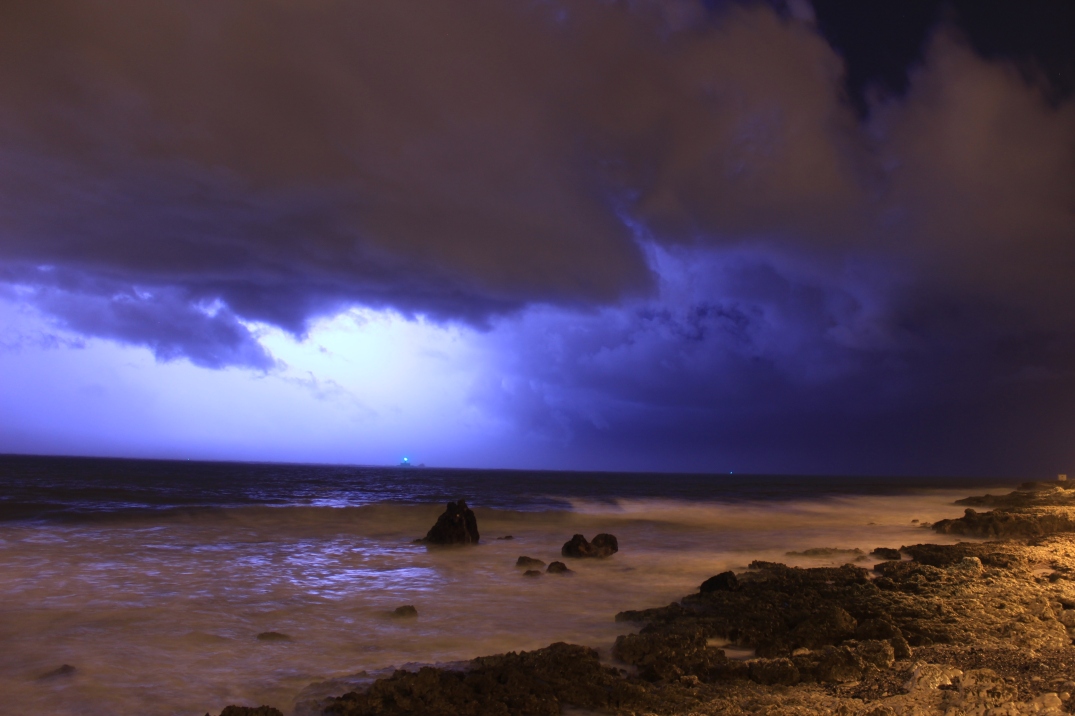
So my next step on the journey was to invest in a tripod and some lights. Seeming as I’m not a man with money, I couldn’t afford to buy one of the many awesomely cool sets on light painting tools online, (if you can afford these they look really cool and you can create some awesome pictures with them). So I just downloaded a torch app for my phone that changes the color on my screen and bought a really cheap tripod from a Chinese website. Armed with nothing more that a tripod and free app on my phone I waited till it was dark and went to the garden. To take the following pictures I set my DSLR to a 30 seconds exposure, and used some different color lights on my phone. Sometimes I find when light painting that less can be more, as you can see from the pictures below that too much light can cause the screen to go white(unless that’s the effect that you are going for.)

Light Painting and messing with long exposure

Light Painting and messing with long exposure

Light Painting and messing with long exposure

Light Painting and messing with long exposure

Light Painting and messing with long exposure

Light Painting and messing with long exposure

Light Painting and messing with long exposure
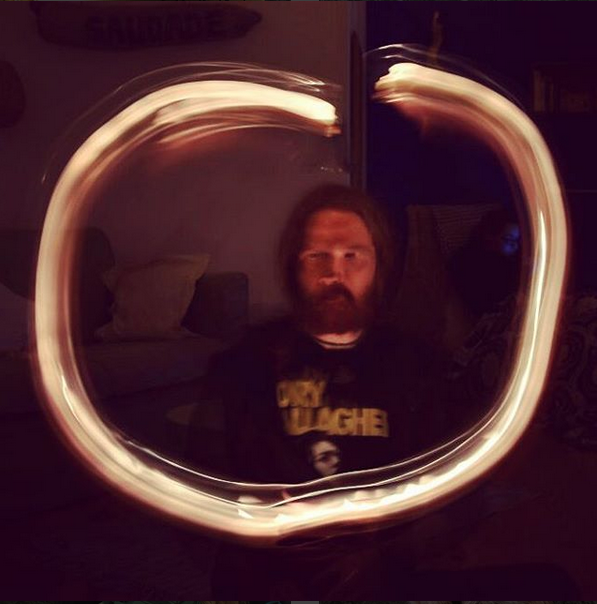
The next tool I thought that I could use was a cigarette lighter. I started out by just holding the lighter close to my face and then experimented with moving it around, and then got my best results with holding it close to my face for a few seconds, then I shut the lighter down and quickly moved to another position and lighting again. Just be careful with the lighter as it can get quite hot if its on for more than a few seconds.

Light Painting and messing with long exposure

Light Painting and messing with long exposure

Light Painting and messing with long exposure

Light Painting and messing with long exposure

Light Painting and messing with long exposure

Light Painting and messing with long exposure
If you have read this far then you have my thanks, as I really didn’t think it would take this long to type, if this was a TV show this is where we would break for commercials now but as its real life I’ll get back to typing.
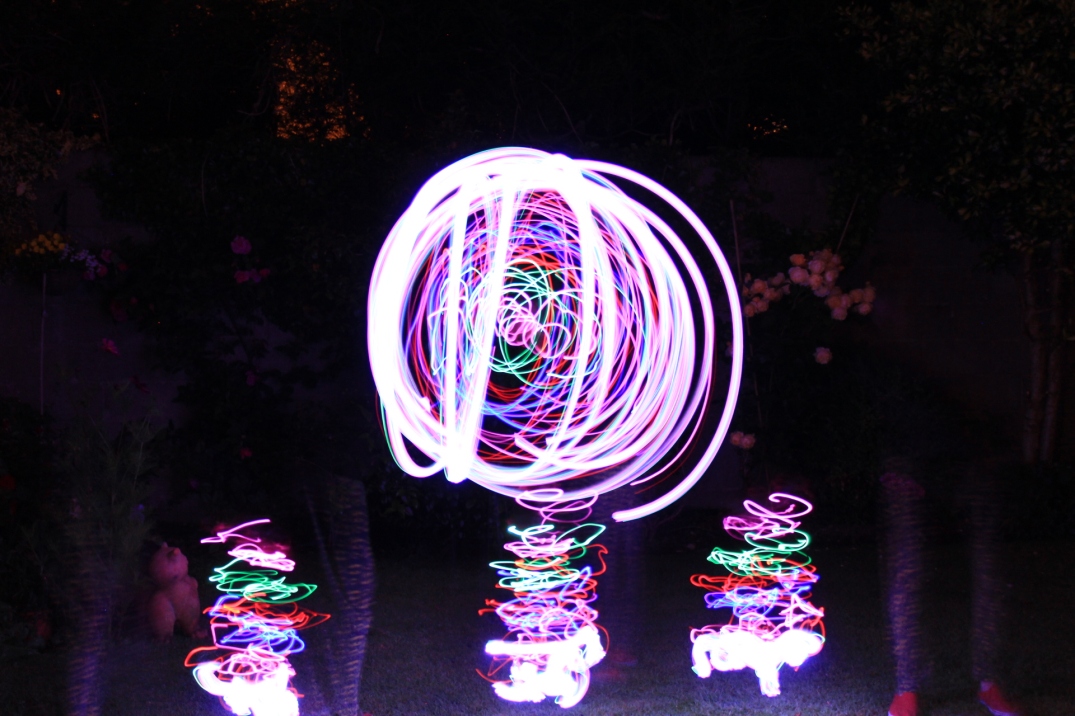
The next tool I used and its probably the one that Ive had the most success and fun with is a set of battery powered LED Christmas lights. I looked up some tutorials on making orbs on youtube found that the best thing to do with the string of lights is to duct tape the lights into a ball(this is a good tutorial on how to do it, I just bunched them up as I didn’t have the equipment for solder the wire). To make an orb simply swing the light in a circle and pivot on the spot so that you get the orb effect.

Light Painting and messing with long exposure

Light Painting and messing with long exposure

Light Painting and messing with long exposure

Light Painting and messing with long exposure

Light Painting and messing with long exposure

Light Painting and messing with long exposure

Light Painting and messing with long exposure

Light Painting and messing with long exposure

Light Painting and messing with long exposure

Light Painting and messing with long exposure

Light Painting and messing with long exposure

Light Painting and messing with long exposure

Light Painting and messing with long exposure

Light Painting and messing with long exposure
Tips:
- Use a tripod to keep the camera steady.
- Set a timer on the camera to avoid camera shake.
- Take a test shot with the flash on so you can make sure the picture is framed correctly.
- Put the camera on the Manual Focus as Auto focus can find it difficult to focus in the dark.
- Be creative and have fun.
Thanks for taking the time to read all this and I hope that you enjoyed it and apologies for any spelling and grammar mistakes, let me know in the comments how your light painting works out. Now go forth and conquer.